
Here are the remaining three, written out in full.
Five Ways to Dress Up a Bowl of Sopa
Aug 5, 2026 · 3 min read
A good sopa is already complete on its own — but the right add-ons turn a bowl you finish into a bowl you remember. Here’s what we keep on hand at the counter, and why each one works.
Lime. Not a garnish — a correction. A squeeze of lime at the end brightens a broth that’s been simmering for hours and brings the whole thing back into balance. Squeeze it in right before the first bite, not while it’s still piping hot, or you lose some of the punch.
Radish, thinly sliced. Crisp, a little peppery, and cool against a hot broth. It’s the textural contrast a slow-cooked soup is usually missing — everything else in the bowl is soft, and radish is the one thing that pushes back.
Avocado. Half a ripe avocado, sliced or roughly mashed into the broth, adds richness without heaviness. It also mellows any heat if your sopa has a kick, which makes it a good move for the Sopa de Res or Sopa de Puerco specifically.
A spoon of Salsa Verde. This is the one regulars ask about most. A spoonful of our tomatillo salsa stirred into Sopa de Pollo or Sopa de Vegetales adds acidity and a fresh green heat that a long-simmered broth can’t build on its own — they’re doing two different jobs, and together they cover more ground than either does alone.
Toasted tortilla strips or crackers. Simple, but it matters: something with crunch, added right before eating, keeps every spoonful interesting instead of just soft-on-soft. We keep a small basket of them on the counter for exactly this reason.
None of these need to happen every time. But if you’ve only ever ordered a sopa and eaten it straight, try one addition at a time — you’ll notice which one your particular bowl was missing.
How to Brew Our House Coffee at Home
Jul 20, 2026 · 3 min read
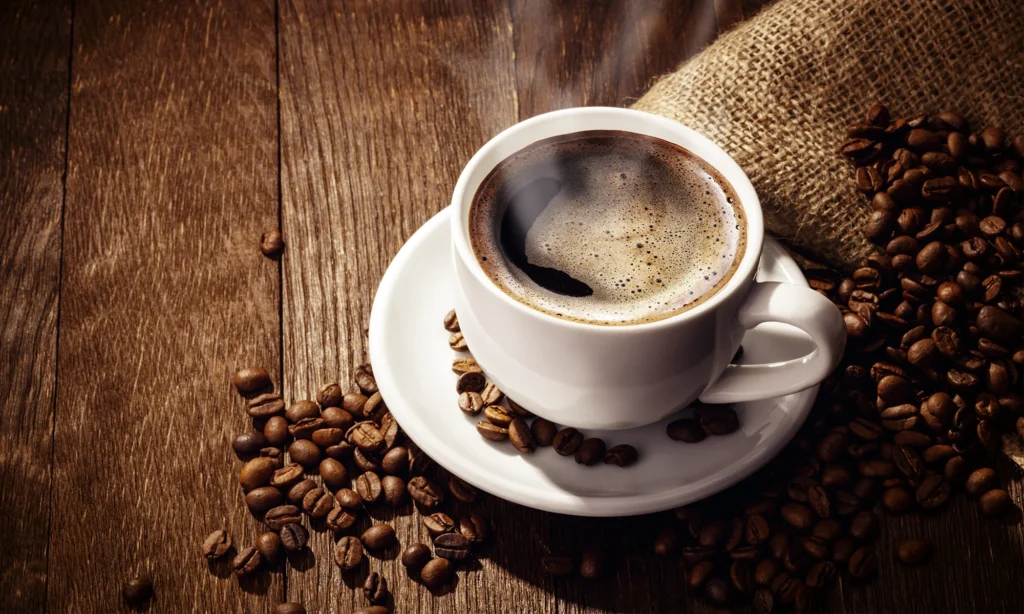
We get asked this more than almost anything else on the menu: how do you make El Real Café Latino taste the way it does at the counter? It comes down to three things — grind, ratio, and water temperature — and none of them require special equipment.
Grind size. Medium-coarse, close to what you’d use for a standard drip machine. Too fine and the coffee turns bitter and over-extracted; too coarse and it comes out thin and sour. If you’re grinding at home, aim for something close to coarse sand — you should be able to feel individual grains between your fingers, not a fine powder.
The ratio. We use roughly 1 part coffee to 16 parts water by weight — about 2 tablespoons of grounds per 6 ounces of water if you’re measuring by volume. This is a starting point, not a rule: if it tastes weak, add a bit more coffee next time rather than brewing longer, which just pulls out more bitterness instead of more flavor.
Water temperature. Just off the boil — around 200°F (93°C). Water that’s actually boiling will scorch the grounds and flatten the flavor; water that’s too cool won’t pull enough out of the bean. If you don’t have a thermometer, let the kettle sit for about 30 seconds after it boils before pouring.
One more thing: buy whole bean if you can, and grind right before brewing. Coffee starts losing its aroma within minutes of grinding, which is the single biggest difference between a cup made at home and one made at the counter five minutes after the bag was opened.
Get those three things close, and a regular drip machine or pour-over at home will get you most of the way to what’s in your cup here.